
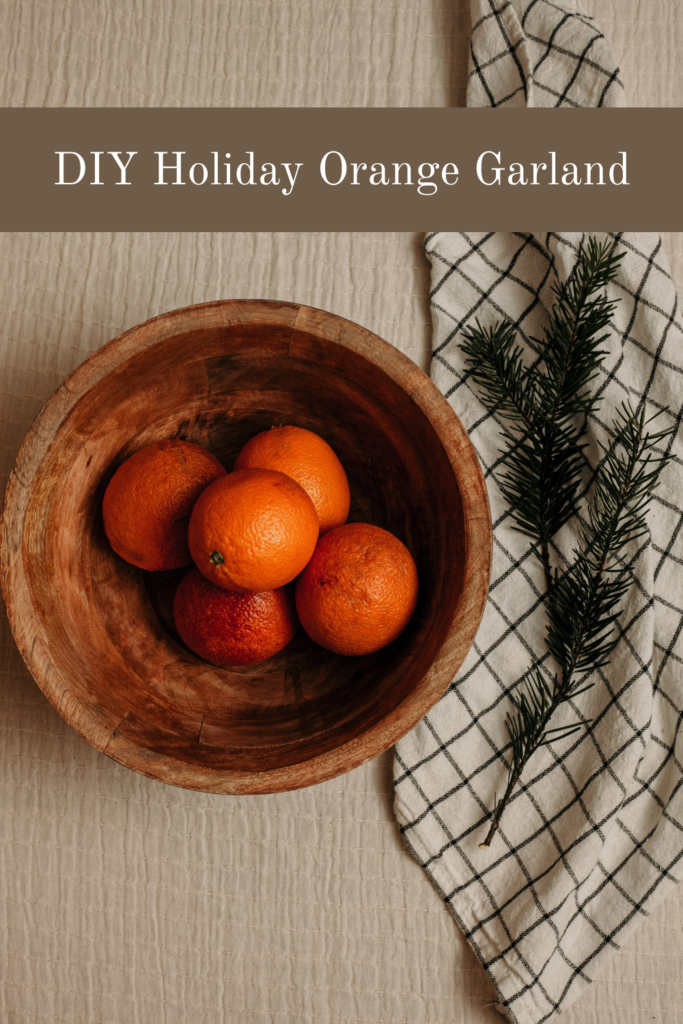
Tis The Season For Easy & Cozy Decor
Every time the holidays come around in our household there is a longing for cozy and warm evenings inside sipping a cup of hot tea and making a craft that will add to the comfort of the holiday season. An easy & cozy DIY holiday dried orange garland is a great way to add a touch of holiday cheer this year! Through the hustle and bustle of moving and having most of our decor packed away in boxes across town, I have opted for simpler holiday decor. This means easy and cozy crafts that maybe take an hour or two and help me focus on the joy of the season. They don’t cost much and they add that little element of holiday cheer around our home.

With it already being December, I can certainly say this project is perfect for this current season. It almost feels like a Dried Orange Garland is a cheat code to the scramble of trying to decorate for the holidays! These oranges do keep well if stored properly from season to season but they are honestly so easy to make you can delight yourself in making a new batch each year.

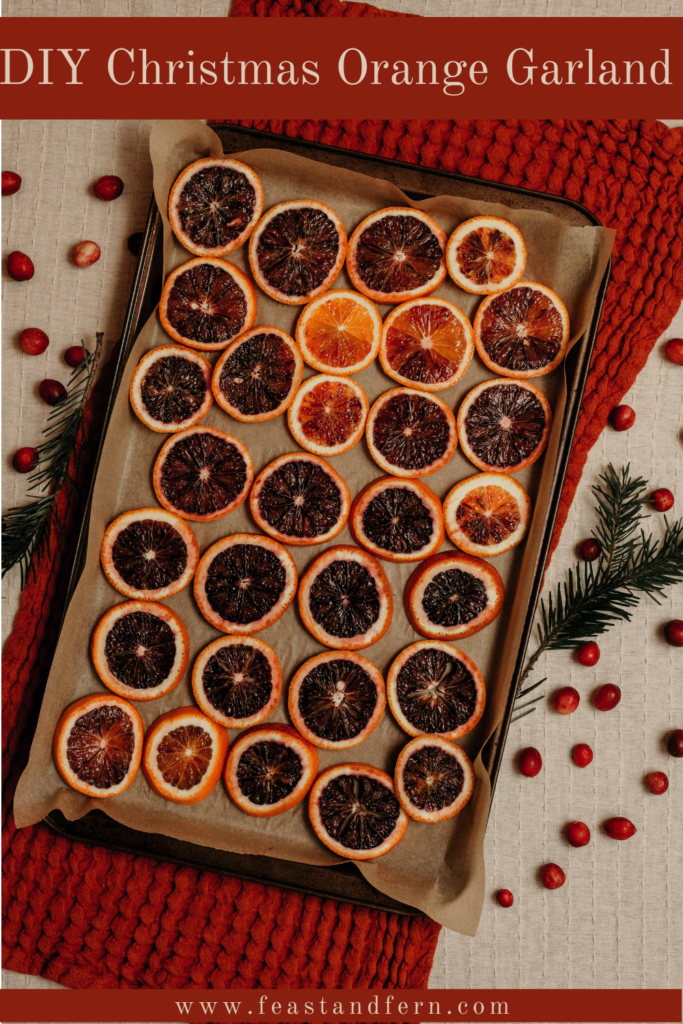
A dried orange garland is a perfect way to not only add color and a natural element to the indoors. It also makes the house smell so good as the orange slices dry in the oven! You can expect to spend about 4 hours total on this craft but that is only because the oranges do take some time to dehydrate in the oven. That being said, most of the time spent on this project is hands-off. Simply slice the oranges, place on baking sheets lined with parchment, and bake low and slow for up to 4-5 hours if you want to retain as much color as possible.
What You’ll Need for the Holiday Orange Garland
- 3-4 Oranges (Blood Oranges for the deep dark orange color!)
- Knife for Slicing
- Baking Sheet
- Parchment Paper
- Twine
- Toothpick or Yarn Needle
Instructions
- Preheat oven to lowest temp setting 175-200 Deg F.
- Cut oranges into 1/4 inch slices
- Line baking sheet with parchment paper
- Arrange orange slices on baking sheet
- When oven is at temp, place baking sheet in oven on a middle rack
- After about 15 minutes check on the oranges to ensure they are not browning. You may need to adjust your oven temp or even leave the door of the oven cracked open to allow for good airflow if you notice they are browning
- Depending on how thick you sliced your oranges, you may need to leave them in for even longer than described above. This is because they have more juices in each slice that need to be given more time to evaporate
- After they have lost their moisture, I will turn the oven off and transfer them to a drying rack on the counter over night or for at least a couple of hours. This will allow for any last moisture to hopefully evaporate.
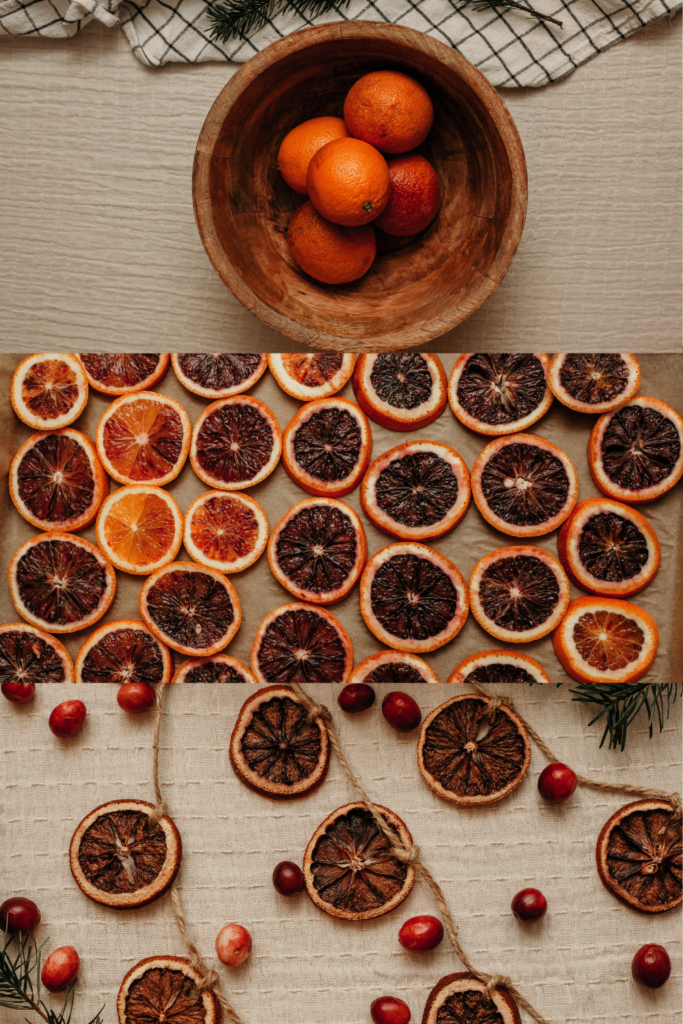
- Once completely cool and dried you can use a pen or a knitting needle to pierce the orange slice near the rind to then thread your twine through.
- You can space each slice as far apart or as close as you would like. Depending on your preferences and where you are hanging your garland.
Additional Secrets to a Perfect Dried Orange Garland
- Get to hanging your garland! String it about wherever you need a little extra holiday cheer. Of course be mindful of this becoming a fire hazard and ensure it is not hung near open flames or possible hear sources.
- Of course a simple orange garland is lovely but don’t forget the possibility of adding fresh cranberries or other additions such as popcorn to add a fun texture and color to your garland!
- The secret to a bright dried orange slice is to dehydrate SLOWLY. If your oven is too warm it will simply cook the oranges and they will loose their bright color.
- It is best to flip the slices about every hour to ensure they are losing moisture evenly and they don’t stick to the parchment paper.
- I tend to loop the twine through so that each slice is secured in its place on the twine, otherwise they tend to slide around.
Leave a Reply